
Quick Start Guide to Completing FBA Shipments
Ready to begin? Here's a simple guide to creating and completing an FBA shipment in Boxem.
For a comprehensive guide to each step, check this section of our Help Center: Walkthrough
Create a New Shipment
From the left menu, click + Create Shipment.

Enter a shipment name, choose FBA as the fulfillment type, and choose your settings. A detailed guide on these can be found here.

Click + Create Shipment.

Step 1: Choose Products
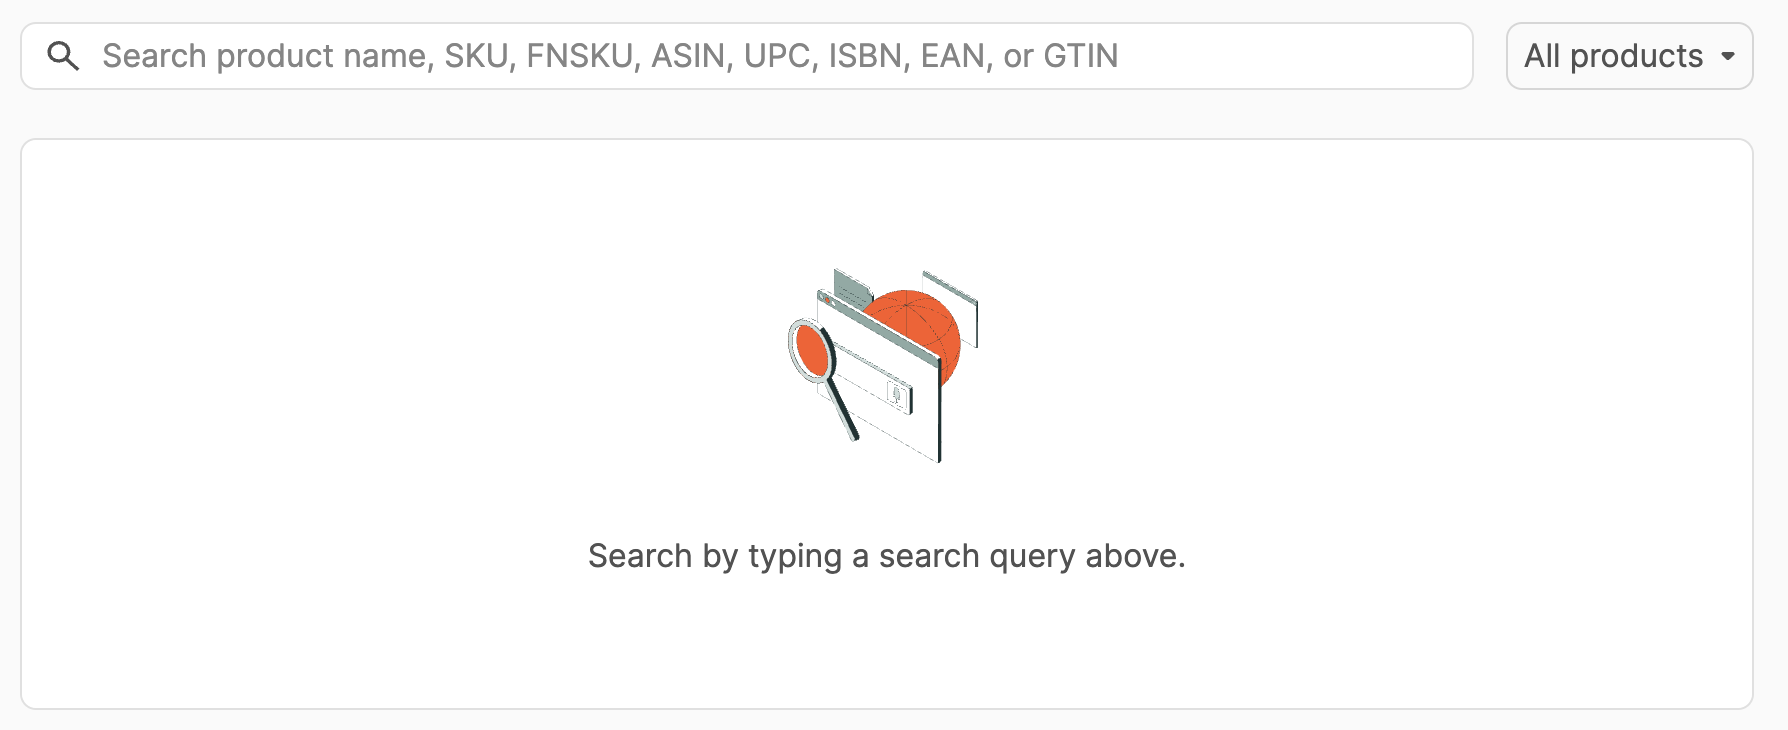
Use the search bar to pull up the products.
To add a product to your shipment, click the Plus button.

A side panel will open, where you'll enter the information for your listing on the Add product tab. Details of what you can enter can be found here.
Click + Add product.

Print labels if needed by clicking the three vertical ellipses next to the product and selecting Print FNSKU.

After adding all your products, click Continue.
Amazon will determine the product warehouse destinations based on your Inbound Placement setting in Seller Central.
To proceed, click Confirm & Send Request.

Step 2: Confirm Shipments
Review the destinations for the products.
Use the Confirm all shipments or Decline all shipments buttons at the top of the page to create or decline them in bulk, or click the Confirm shipment or Decline button for each shipment individually.
Note: Amazon may charge you inbound defect fees for declining shipments. More info on this here.

After deciding on each shipment, click Continue.
Step 3: Prep & Boxem
Create boxes and assign the products in the shipment to them. Detailed steps for entering box content can be found here.
Note: For shipments without box content, you'll only need to create boxes and enter their dimensions and weights in this step.
Click Create first box on the right side of the page.

To create additional boxes, enter the number of boxes and click Create new box(es).

To assign a product to boxes individually, click Assign next to the product.

Choose to assign the units manually or split them evenly between boxes.


To create boxes and assign products to them in bulk, click Bulk Assign.

To enter the dimensions and weight for an individual box, click Set Dimensions and weight.

To enter the dimensions and weight for all boxes in bulk, click Dimensions & Weight at the top of page.

After assigning all products to boxes and entering dimensions and weight, click Continue.
Step 4: Review & Ship
Review the shipment and Print FBA Box Labels for all of the boxes.

For SPD shipments, check the shipping details, contents, and estimated shipping charge.
Click Accept Shipping Charges.

Click Print Shipping Labels.

For LTL shipments, print your Print Pallet Labels.

Enter the height and weight of your pallets. If they can be stacked, check the Stackable box.
Enter the number of pallets you have, then click Add Pallet +.

Enter the shipper information, select a freight class, and enter the freight ready date.
Click Submit and get shipping charges.

Check the estimated shipping charge. Click Accept Shipping Charges.

Review the shipping details and contents. Click Print Shipping Labels.

Have the BOL (Bill of Lading) ready for the carrier at pickup.